I love blogs that I can look at without reading too much, this is an homage to that! Enjoy!

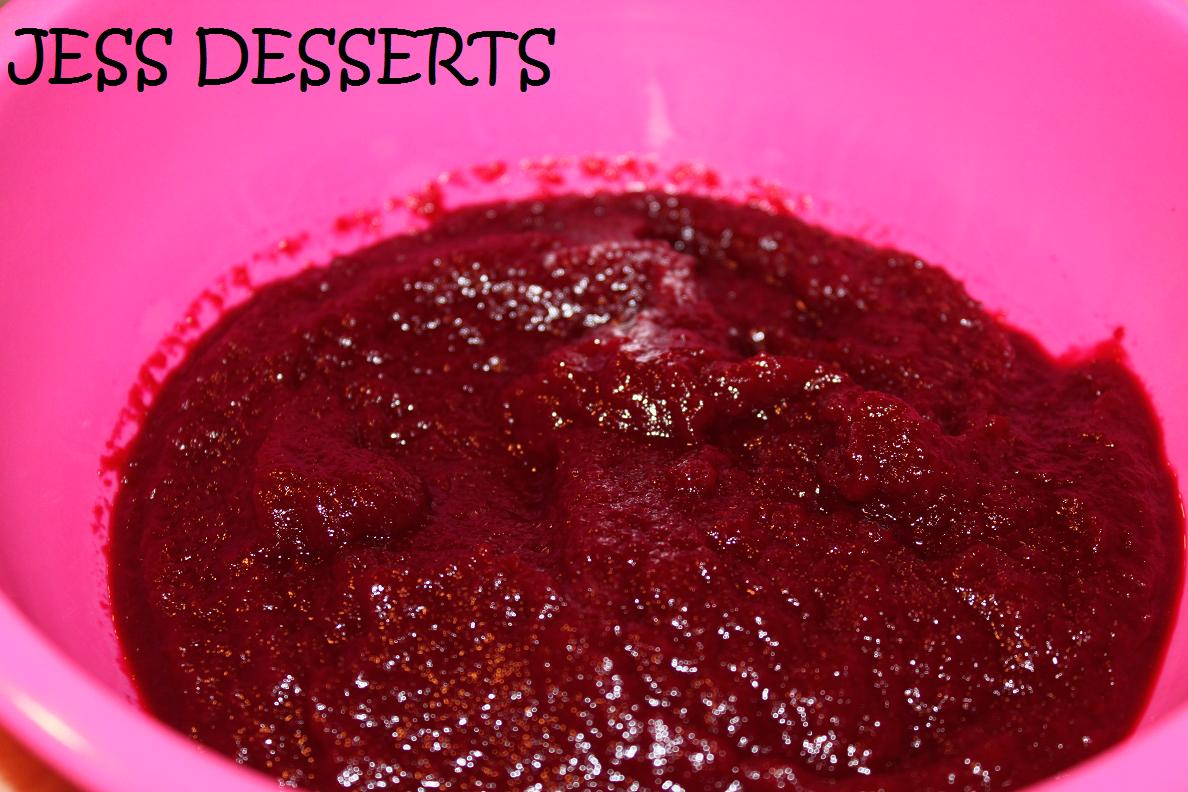
 The cake batter will look runny......no worries.
 This recipe yielded 2 dozen cuppies.
 As you can see, they rose nicely.
 I always test my cuppies once they're out of the oven. #1- do they come off of the paper? Answer: yes!
#2 How does the crumb look? Answer: very nice! no tunneling, not too dense, so far so good!
 #3 ( my fav) taste. Answer: very moist, not too sweet.
 #4 did I like it ? Answer: see above pic :o)
 Most cuppies ( the test cuppie served its purpose & took one for the team) cooling comfortably.
 Making a hole in the middle. How you do it is totally up to you. Some prefer a small knife, some have used a tip, both are shown above. Between the 2 methods the tip actually worked better. They were always uniform and it was very quick. I have also used an apple corer which is my personal preference , but I couldnt find the darn thing- oh well.
 These are the things you will need to make the caramel. Im a firm believer in mise en place ( literaly translates into "everything in its place", but it just means get all your stuff together before you start baking.
A cup/glass filled with water and a small pastry brush
a heat proof spoon
a candy thermometer
the cream the recipe calls for
the cream the recipe calls for
the salt the recipe calls for

Just a quick hint: if you spray the tablespoon with cooking spray prior to pouring/measuring the corn syrup, it will all just slide out, allowing you to get the proper amount without leaving any behind in the spoon.
 Im doing the best I can, holding the camera in one hand, trying to get a good shot and I have a little problem that doesnt help. Ill share it now, as embarrassing as it is. I cant wink. Why does this matter? well......it means that when im trying to take a pic, I cant close one eye unless I literally hold it closed with my other hand. Im sure that paints such a silly pic, but ......deep breath..... now im freeeeeeeeeeeeee! My secret is out!!!
 When you're heating sugar and water, you should always add the water to the pan first.
 Stir the sugar, water & corn syrup mixture until its clear. Use the pastry brush to brush off any sugar that gets on the sides of the pan. The reason being if they stay there, they will crystalize and then fall back into the mixture. You do not want this. Trust me. It ruins your caramel and you have to start all over.
 Once the mixture is clear, add your candy thermometer to the side of the pan. Make sure that the tip of the therometer is IN the sugar mixture. If not, you will not get an accurate reading.
 Try to also move the therometer so you can wash down the sugar that forms behind it.
 Be careful when you add the cream, it will bubble and splash. This pic is after the cream was mixed in, once it was stirred.
 Im glad that you can see the color, its just beautiful. Oh caramel , how I love you!!
 Trying to show you the color again.
 Pouring the caramel into the cupcakes.
 It sank into the cupcake rather quickly. If I.......when I .......make these again, ill definitely wait unitl the caramel cools a little more before I pour it in the cuppies.
 So YUMMY!
I knew I wanted to drizzle caramel on top of the cuppy, so I poured the remainder into a bottle. I only used enough caramel for a dozen cuppies, thats why I had enough to fill a squeeze bottle. FYI.
 Now, it's time for the frosting. I beat the butter and powdered sugar until light and fluffy.
 That looks about right.
 This is the chocolate for the frosting. I decided to use a double boiler instead of a microwave. Its up to you.
 Silky smooth and beautiful!
 This is the cocoa powder mixed with the boiling water. I whisked it until smooth.
 Pouring the melted chocolate into the butter and powdered sugar.
 Still pouring.....
 Chocolate frosting all ready for a cuppy!
 I used a circle tip and piped the frosting into the cuppy. Then I drizzled the caramel and sprinkled it with pink sea salt.
I hope you enjoyed this post, please leave comments and feel free to ask any questions you may have!!
Salted caramel chocolate cupcakes
Cupcakes
•1 & 1/2 cups all-purpose flour
•3/4 cup unsweetened Dutch-process cocoa powder
•1 & 1/2 cups granulated sugar
•1 & 1/2 teaspoons baking soda
•3/4 teaspoon baking powder
•3/4 teaspoon salt
•2 large eggs
•3/4 cup buttermilk
•3 tablespoons vegetable oil
•1 teaspoon vanilla extract
•3/4 cup warm water
•sea salt, for garnish
Preheat oven to 350°.
Whisk together flour, cocoa, sugar, baking soda, baking powder, and salt. Add eggs, buttermilk, oil, vanilla, and water.
Using an electric mixer on low speed, mix until smooth.
Fill muffin pans about 2/3 full. Bake about 15 minutes, or until a toothpick inserted in the center comes out clean.
Cool in pans on wire racks about 10 minutes. Remove cupcakes to wire racks to let cool completely.
Salted Caramel Filling
•2 & 1/2 cups sugar
•2/3 cup water
•1 tablespoon light corn syrup
•3/4 cup heavy cream
•2 & 1/2 teaspoons sea salt
Heat sugar, water, and corn syrup in a heavy saucepan over high heat. Stir occasionally until syrup is clear. Attach a candy thermometer to side of pan.
Stop stirring, and cook until syrup comes to a boil, washing down sides of pan with a wet pastry brush as needed.
Boil, gently swirling pan occasionally, until mixture is caramelized and temperature just reaches 330°.
Remove from heat. Slowly pour in cream and stir with a wooden spoon until smooth. Stir in sea salt. Use immediately.
Use a paring knife, cut a cone-shaped piece, about 1/2-inch deep, from the center of each cupcake.
Spoon 1-2 teaspoons of warm filling into each cupcake. Sprinkle a pinch of sea salt over filling.
Dark Chocolate Frosting
•1/2 cup plus 1 tablespoon unsweetened Dutch-process cocoa powder
•1/2 cup plus 1 tablespoon boiling water
•2 & 1/4 cups unsalted butter, room temperature
•3/4 cup confectioners’ sugar, sifted
•1/4 teaspoon salt
•1 & 1/2 pounds semi-sweet chocolate, melted and cooled
Combine cocoa and boiling water. Stir until cocoa has dissolved.
Using an electric mixer on medium-high speed, beat butter, confectioners’ sugar, and salt until pale and fluffy.
Reduce speed to low and add melted and cooled chocolate. Beat until combined. Beat in cocoa mixture.
Cupcakes
•1 & 1/2 cups all-purpose flour
•3/4 cup unsweetened Dutch-process cocoa powder
•1 & 1/2 cups granulated sugar
•1 & 1/2 teaspoons baking soda
•3/4 teaspoon baking powder
•3/4 teaspoon salt
•2 large eggs
•3/4 cup buttermilk
•3 tablespoons vegetable oil
•1 teaspoon vanilla extract
•3/4 cup warm water
•sea salt, for garnish
Preheat oven to 350°.
Whisk together flour, cocoa, sugar, baking soda, baking powder, and salt. Add eggs, buttermilk, oil, vanilla, and water.
Using an electric mixer on low speed, mix until smooth.
Fill muffin pans about 2/3 full. Bake about 15 minutes, or until a toothpick inserted in the center comes out clean.
Cool in pans on wire racks about 10 minutes. Remove cupcakes to wire racks to let cool completely.
Salted Caramel Filling
•2 & 1/2 cups sugar
•2/3 cup water
•1 tablespoon light corn syrup
•3/4 cup heavy cream
•2 & 1/2 teaspoons sea salt
Heat sugar, water, and corn syrup in a heavy saucepan over high heat. Stir occasionally until syrup is clear. Attach a candy thermometer to side of pan.
Stop stirring, and cook until syrup comes to a boil, washing down sides of pan with a wet pastry brush as needed.
Boil, gently swirling pan occasionally, until mixture is caramelized and temperature just reaches 330°.
Remove from heat. Slowly pour in cream and stir with a wooden spoon until smooth. Stir in sea salt. Use immediately.
Use a paring knife, cut a cone-shaped piece, about 1/2-inch deep, from the center of each cupcake.
Spoon 1-2 teaspoons of warm filling into each cupcake. Sprinkle a pinch of sea salt over filling.
Dark Chocolate Frosting
•1/2 cup plus 1 tablespoon unsweetened Dutch-process cocoa powder
•1/2 cup plus 1 tablespoon boiling water
•2 & 1/4 cups unsalted butter, room temperature
•3/4 cup confectioners’ sugar, sifted
•1/4 teaspoon salt
•1 & 1/2 pounds semi-sweet chocolate, melted and cooled
Combine cocoa and boiling water. Stir until cocoa has dissolved.
Using an electric mixer on medium-high speed, beat butter, confectioners’ sugar, and salt until pale and fluffy.
Reduce speed to low and add melted and cooled chocolate. Beat until combined. Beat in cocoa mixture.